Ingredients
- 2¾ cups cake flour
- 1⅔ cups sugar
- 1 tablespoon baking powder
- Pinch of salt
- ¾ cup butter, softened
- 4 egg whites plus 1 whole egg (save the yolks for the filling)
- 1 cup plain Greek yogurt
- 1 teaspoon vanilla
- 1 can evaporated milk
- ¾ cup maple syrup
- ¾ cup brown sugar
- 4 egg yolks
- 3 tablespoons cornstarch
- 6 tablespoons butter, divided
- 1 teaspoon vanilla
- 1 cup or more confectioner’s sugar
- ¾ cup chopped walnuts
- 6 egg yolks
- 1 cup maple syrup
- ¼ cup sugar
- ¾ cup unsalted butter
- 1 teaspoon vanilla
Instructions
For the Cake*:
Preheat oven to 350°. Grease and flour two 9-inch cake pans and set aside.
Blend the flour, sugar, baking powder and salt in a standing mixer or with an electric beater. Add the butter a little at a time and mix until crumbly. Add the egg whites a little at a time and then add the whole egg. When fully mixed in, add the yogurt and vanilla and mix until fluffy.
Divide the batter into the two pans and bake in the oven for approximately 25 minutes, checking at 20 minutes to ensure they don’t overcook. The cake should spring back when lightly pressed.
*The cake recipe is basically the one created by King Arthur Flour (find it on the cake flour box) minus the almond extract and substituting plain Greek yogurt.
For the Filling:
Put milk, maple syrup and brown sugar in a large pot. (You need the pot to be deeper than the liquid, which will rise up considerably when it boils.) Bring to a boil over medium-high heat, watching it carefully, and then quickly reduce the heat until the liquid is at a slow simmer. Let it simmer until it reduces by half, about 20–30 minutes.
Whisk the egg yolks and cornstarch together. Add a quarter cup of the sugar liquid to the egg yolks and whisk in quickly, being careful not to curdle the yolks. Add another quarter cup and blend. Then add the yolk mixture back into the pot, making sure to stir constantly. Continue stirring over low heat until the mixture thickens, being careful not to let it come to a hard boil, about 15 minutes. Take it off the heat and incorporate 3 tablespoons butter and the vanilla. Let it cool and then chill for at least an hour.
Remove from the fridge. The mixture should have thickened considerably. If it is too thin, add the confectioner’s sugar 1 tablespoon at a time until it is thick as pudding. Take the remaining 3 tablespoons of butter and blend them until fluffy. Add the maple mixture a little at a time until it has all been incorporated and the filling is silky smooth. Fold in the chopped walnuts and return to the fridge until ready.
For the Maple Buttercream:
This is easiest to make in a standing mixer. If you don’t have one, use an electric beater with a heatproof bowl nestled in a slightly damp towel so the bowl doesn’t move. If you don’t have either gadget, use a whisk and you will develop nicely toned forearms.
Put the egg yolks in a bowl and beat until slightly thickened and lighter in color.
Put maple syrup and sugar in a pot with a handle. The syrup will rise substantially in the pot when it boils so choose a pot that is larger than you think you may need. Heat on medium-high until it comes to a full boil. When it comes to a boil, remove from heat and immediately begin to drizzle the syrup into the yolks with the beaters running.
Continue to add the syrup in a small stream while constantly beating. When all of the syrup is added, continue beating until the mixture thickens and cools completely; this may take another 5–8 minutes.
When the mixture is fully cooled, add the butter 1 tablespoon at a time and incorporate with the beater. It is important that your butter be very soft or it will remain as chunks in the frosting. When all the butter is incorporated, add the vanilla.
When preparing this buttercream, there will be several phases when it looks too thin or separated. Make like the queen: Keep calm and carry on.
Assembly:
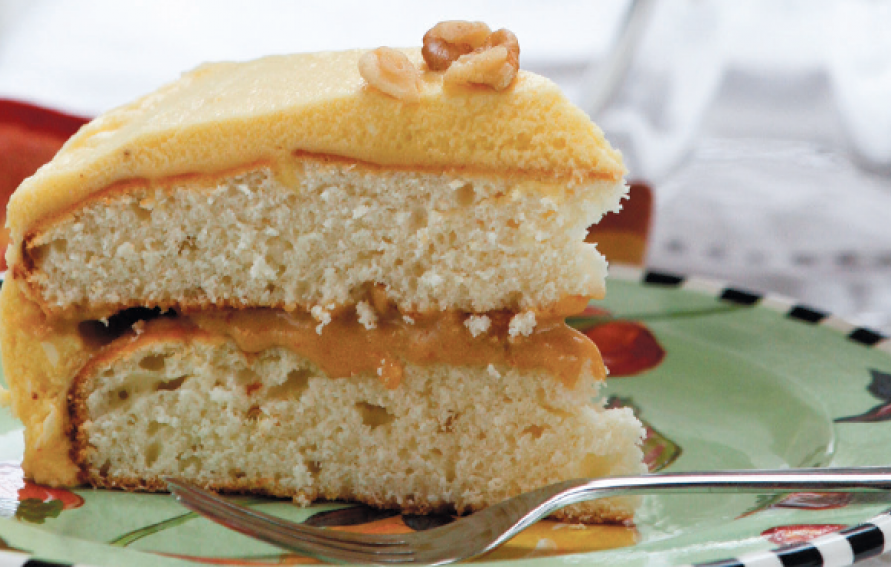
Turn 1 of the cakes out onto a large plate. Cover with the filling and place the second cake on top. Cover the entire cake with maple buttercream. Garnish with additional walnuts if you like.
Alternatively you could carefully cut the cakes in half lengthwise and make a four layer cake. There should be enough filling to thinly cover the middle three layers.
About this recipe
I am not a natural-born baker. My skills as a cook do not include the precision required to make refined desserts; I’m more of a little-of-this, little-of-that kind of chef. My lack of aptitude has not prevented me from trying, though, and one of my favorite things to present on the table is a big layer cake.
Although I only tried a couple times a year, I used to be atrociously bad at making them. The flavor was all right but the presentation was laughable. The cake part would be too crumbly or the frosting too dribbly. Or the frosting would be too hard and pull the cake apart upon spreading and the whole thing would look like finished compost on a plate. For a while, out of frustration, I would serve the cake and frosting separately, sort of like bread and butter. The guests really enjoyed custom-loading their cake with frosting, but I was missing the “Ta-dah!” moment that is so much fun with a finished layer cake.
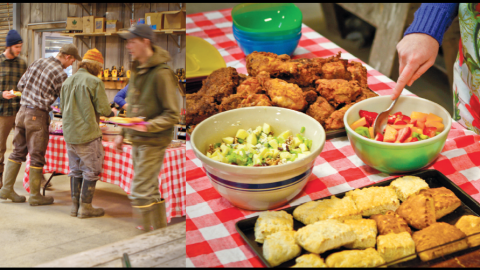
The only way to improve was to practice but my 40-something metabolism was not going to do well with layer cake constantly hanging around the kitchen. Then I started cooking lunch for the crew. Once a week I got to make a huge layer cake that was appreciated by many without consequences to my waistline.
I finally found a few sponge cake recipes with good flavor that didn’t fall apart when frosted. I learned how to make frostings and glazes that held up beautifully. I felt so confident about my abilities that I went out on a limb and created an original cake. Like most baking recipes, this one is created from existing recipes that I modified to my liking. And so, with pride, I present Thunder Basin Maple Cake.

