Oyster Shucking 101
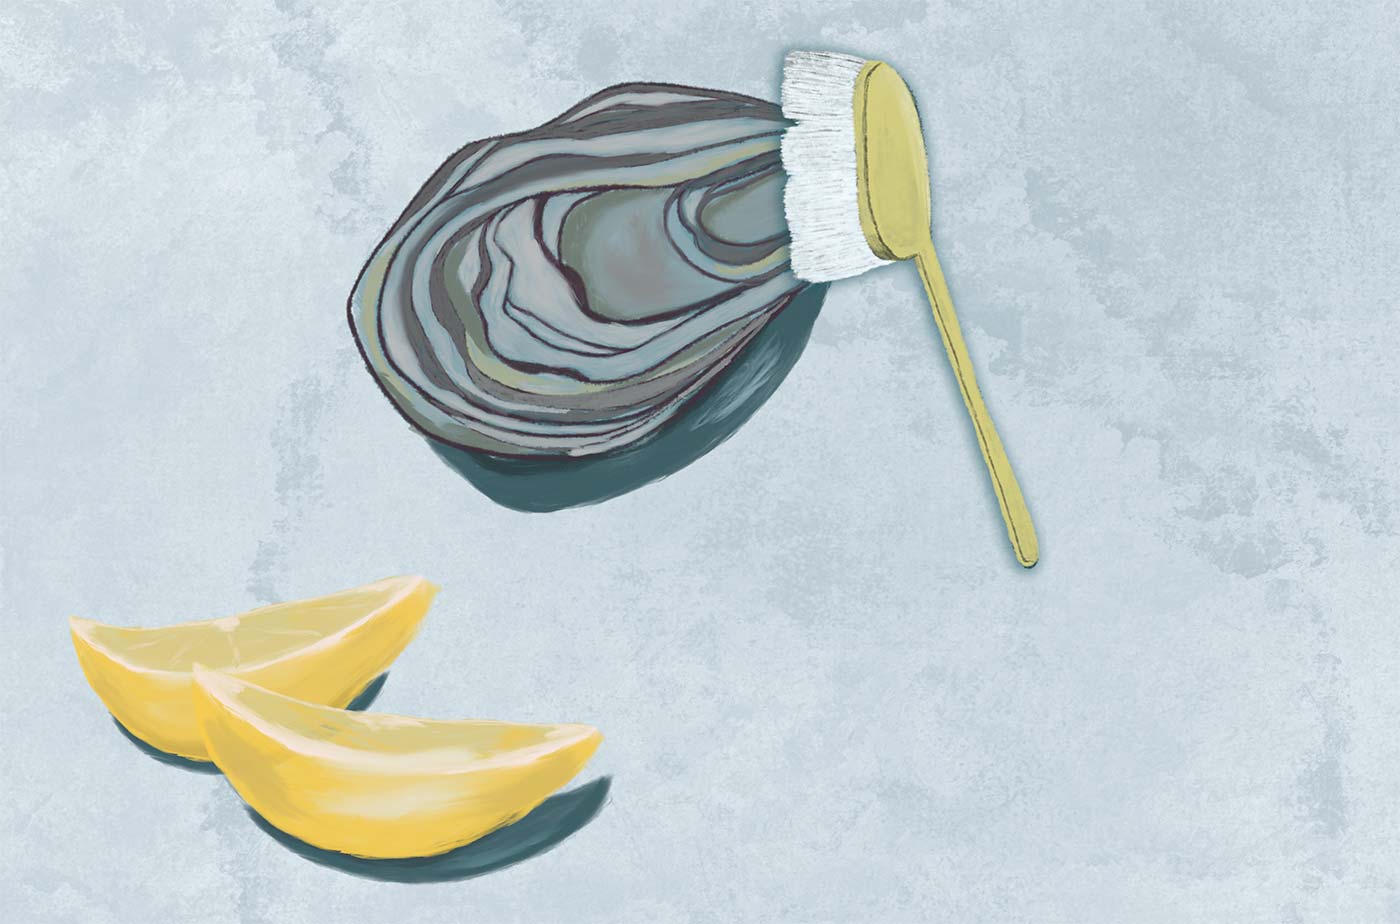
ILLUSTRATION Cat Kahnle
If your oysters look muddy, take a stiff-bristled brush and scrub them clean under cold running water. You’ll see beautiful colors and textures emerge.
Locate the oyster’s hinge, the tiny crevice in the pointy end where the two shells meet. That will be the entry point for your shucking blade.
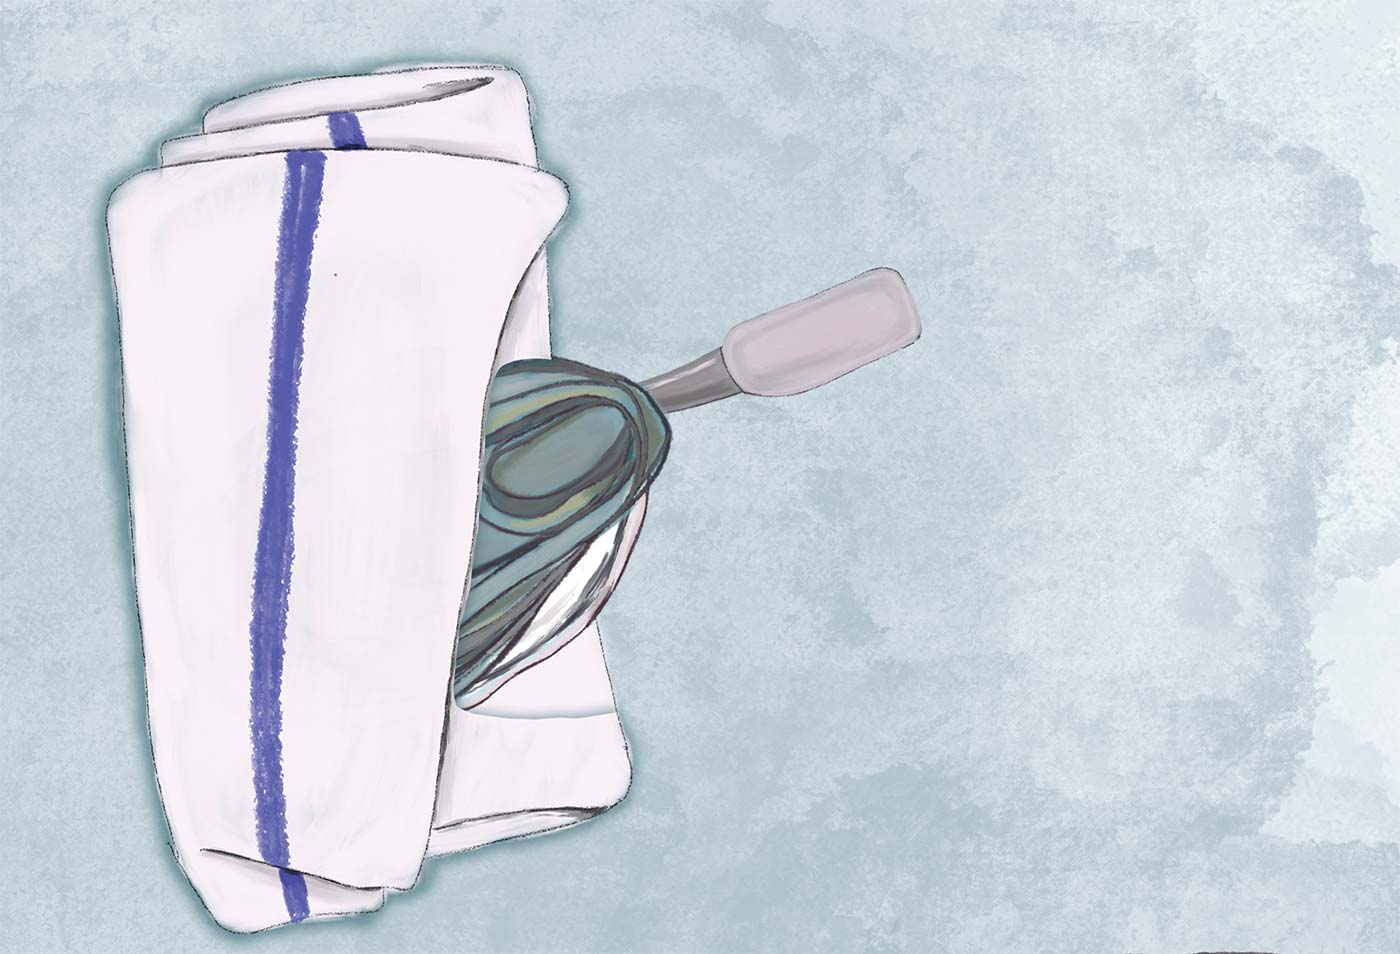
Fold a dish towel into a thick pad.
Place the oyster cup-side down on a cutting board and hold the oyster firmly in place with the folded towel.
Insert the tip of your knife into the hinge and turn the blade like a doorknob, wiggling the knife firmly into the hinge. (Think finesse, not brute force.) When you feel the hinge pop, or give, continue to twist and pry open the shells.
Slide the blade of your knife along the top shell’s inner edge to sever the muscle that connects the shells. Discard the flat top shell. Then slide your knife under the oyster on the cupped shell and cut the bottom muscle that holds it in place.
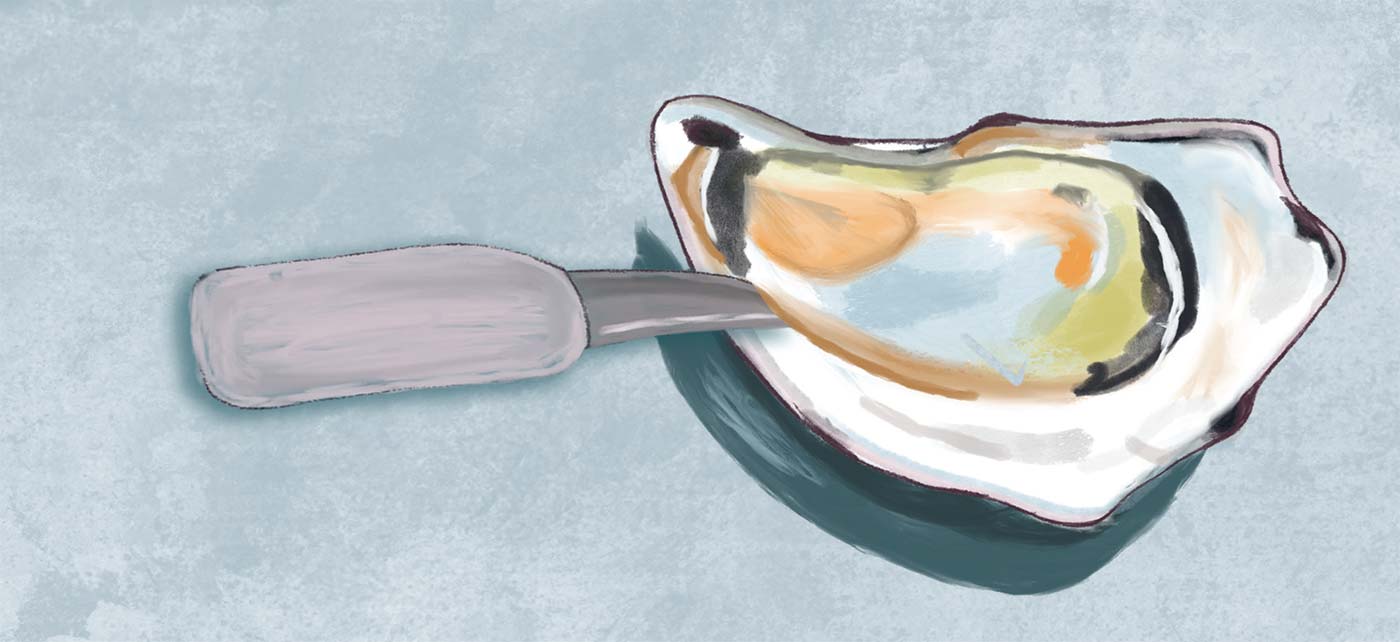
Your oyster is freed and ready to enjoy!
Place on a plate or bed of crushed ice if you have more to open.
Note: After you pop the hinge, you can pick up the oyster while you finish shucking. Try to maintain as much salty brine in the bottom cupped shell as possible—savoring this oyster liquor is half the joy!